Many people ask, “How can I download a DSLR camera on my Android phone?” The short answer: you can’t. A DSLR is a separate hardware camera with a big sensor, changeable lenses, and physical dials. It isn’t an app. The good news: with the right apps, smart settings, good light, and a few small tools, your Android can create photos and videos that feel surprisingly close to a DSLR. This easy guide shows you exactly how.
DSLR Look on Android-Adipk24s

What “DSLR-like” means
When people say “DSLR quality,” they usually want four things:
- Manual control over ISO, shutter speed, white balance, and focus.
- RAW photos so you can edit with more detail later.
- Wider dynamic range to keep detail in bright and dark areas.
- Background blur (bokeh), especially for portraits.
Phone cameras have fixed apertures and smaller sensors, so results won’t be identical—but you can get very close.
Must-have apps
Choose the apps that match your phone and budget. These are popular, reliable options:
- Open Camera — Free, light, and powerful. Gives ISO, shutter, focus, white balance, histogram, and (if the phone supports it) RAW capture.
- Pro/Manual camera apps (e.g., ProCam X, Manual Camera) — Paid options with fast controls, focus peaking, and strong manual modes.
- GCam Port — Community versions of Google’s camera. Often improves HDR, Night mode, and Portrait edges on many phones. Always download from a trusted source.
- Adobe Lightroom Mobile — For editing JPEG and RAW. Great for exposure, color, noise, and sharpness.
- Pro video apps (e.g., Filmic, ProShot Video, MC Pro Video) — Control frame rate, shutter, bitrate, and color profiles for a cinema look.
Install
- Play Store first: Install official apps like Open Camera and Lightroom directly from Google Play.
- GCam Port: Search using your phone model + “GCam port.” Read comments and only use trusted communities or known developers. Avoid random files.
- Permissions: Allow camera/mic/storage only if needed. Review app settings once after install.
First setup
- Resolution & format: Use the highest photo resolution. If supported, enable RAW+JPEG for serious editing.
- Grids on: Turn on “Rule of Thirds” or “Golden Ratio” grids to help composition.
- Stabilization: Keep EIS/OIS on for steadier results. In video, test stabilization settings before an important shoot.
- Storage plan: RAW files are large. Create a folder structure and consider cloud backup to stay organized.
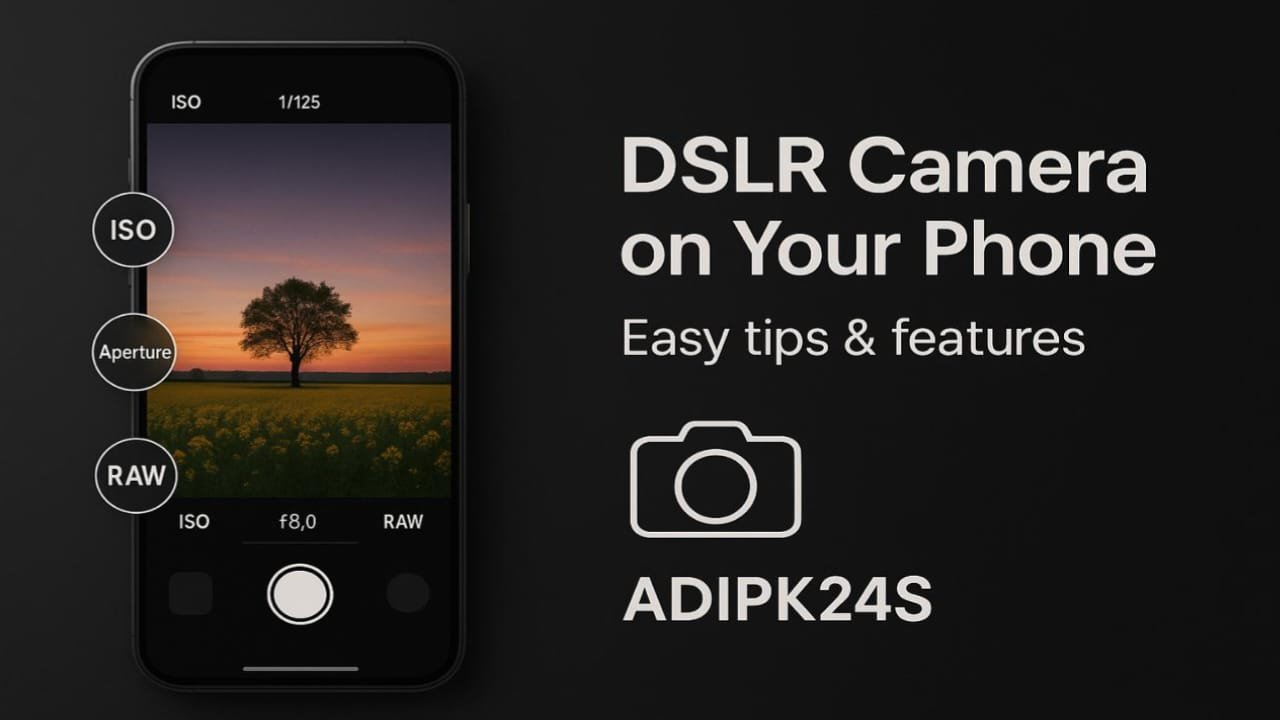
Photo settings
- Keep ISO low: Start at ISO 50/100 in daylight to reduce noise.
- Set shutter wisely:
- Moving subjects: around 1/500–1/1000 to freeze action.
- Still scenes: 1/60–1/200 is often enough hand-held.
- With a tripod in low light, you can use slower shutter speeds.
- White balance: Auto is fine, but test Daylight/Cloudy/Tungsten for truer colors. With RAW, you can fix WB later.
- Focus control: Try manual focus or tap-to-focus. For portraits, focus on the eye. If your app has focus peaking, turn it on to see what’s sharp.
- HDR/HDR+: Use it in scenes with bright skies and dark shadows. Take a couple of shots—moving hands can cause “ghosting.”
Portrait & bokeh
- Use Portrait mode: It detects the subject and softens the background. Hair edges can be tricky, so choose a simple background when possible.
- Create depth: Stand your subject farther from the background to increase blur naturally. String lights or small highlights in the background create pleasing bokeh.
- Clip-on lenses? Some are fun, but many reduce sharpness and add glare. If you buy one, choose a higher-quality glass attachment and secure it well.
Low light
- Night modes help: Stock Night mode or a good GCam port can lift detail without a tripod—but hold the phone steady for a few seconds.
- Tripod is king: Even a small tabletop tripod can transform low-light shots. No hand shake, cleaner images.
- Tame the noise: In Lightroom, use Noise Reduction and Detail carefully. Too much smoothing makes skin look plasticky.
Video
- Resolution & frame rate: For most scenes, 4K/30 or 1080p/60 works well. Use higher frame rates (120/240fps) for slow motion.
- Shutter rule: For a natural, cinematic motion blur, try the 180° rule (e.g., at 30fps, set shutter near 1/60).
- Flat/Log profiles: If your app offers a flat profile, record flat and color-grade later for richer results.
- Stability matters: A gimbal or strong EIS makes the biggest difference. Smooth footage looks instantly professional.
- Audio counts: If you speak on camera, use a lavalier or small shotgun mic. Viewers forgive soft video before they forgive bad sound.
Editing flow
- Import RAW/JPEG: Bring your best shots into Lightroom.
- Basic exposure: Adjust Exposure, Highlights, Shadows, Whites, Blacks until the image feels balanced.
- Color accuracy: Fix White Balance and Tint. Use HSL to make skin tones look natural.
- Local tweaks: Slightly brighten the face, darken a busy background, and draw the eye to the subject.
- Sharpen & noise: Add sharpness gently; reduce noise just enough. Watch for halos and smudgy textures.
- Make presets: Save your favorite look. Next time, you’ll match a style in one tap.
Essential gear
•Tripod or gimbal: The cheapest upgrade with the biggest impact for photos and video.
•Phone clamp or cage: Safer grip and easy mounting for lights and mics.
•LED light: A small, soft LED boosts portraits and product shots instantly.
•Microphone: Clean audio lifts your entire video. Even an affordable lav mic beats the phone mic
Common myths
- DSLR app” doesn’t exist: You don’t download a DSLR; you give your phone DSLR-style control with the right app.
- Aperture is fixed: Most phones can’t change the aperture, so use distance and Portrait mode to shape background blur.
- Only expensive phones work: A budget phone + good light + correct settings can challenge pricier phones.
Quick checklist
- RAW on (if available), grid on, stabilization on.
- Low ISO, shutter matched to motion, white balance checked.
- Simple background, subject well lit, distance from the background for more blur.
- In low light: tripod + Night mode.
- Edit lightly but thoughtfully; save a preset for your style.
Wrap-up
You can’t download a DSLR to your Android, but you can get very close t o the look. Pick a solid camera app (Open Camera or a good Pro/Manual app), try a trusted GCam port for better HDR and Night shots, and learn the big four: ISO, shutter, white balance, and focus. Add basic lighting, keep your phone stable, and finish with careful editing.